Picture: Gaël G.
Introduction
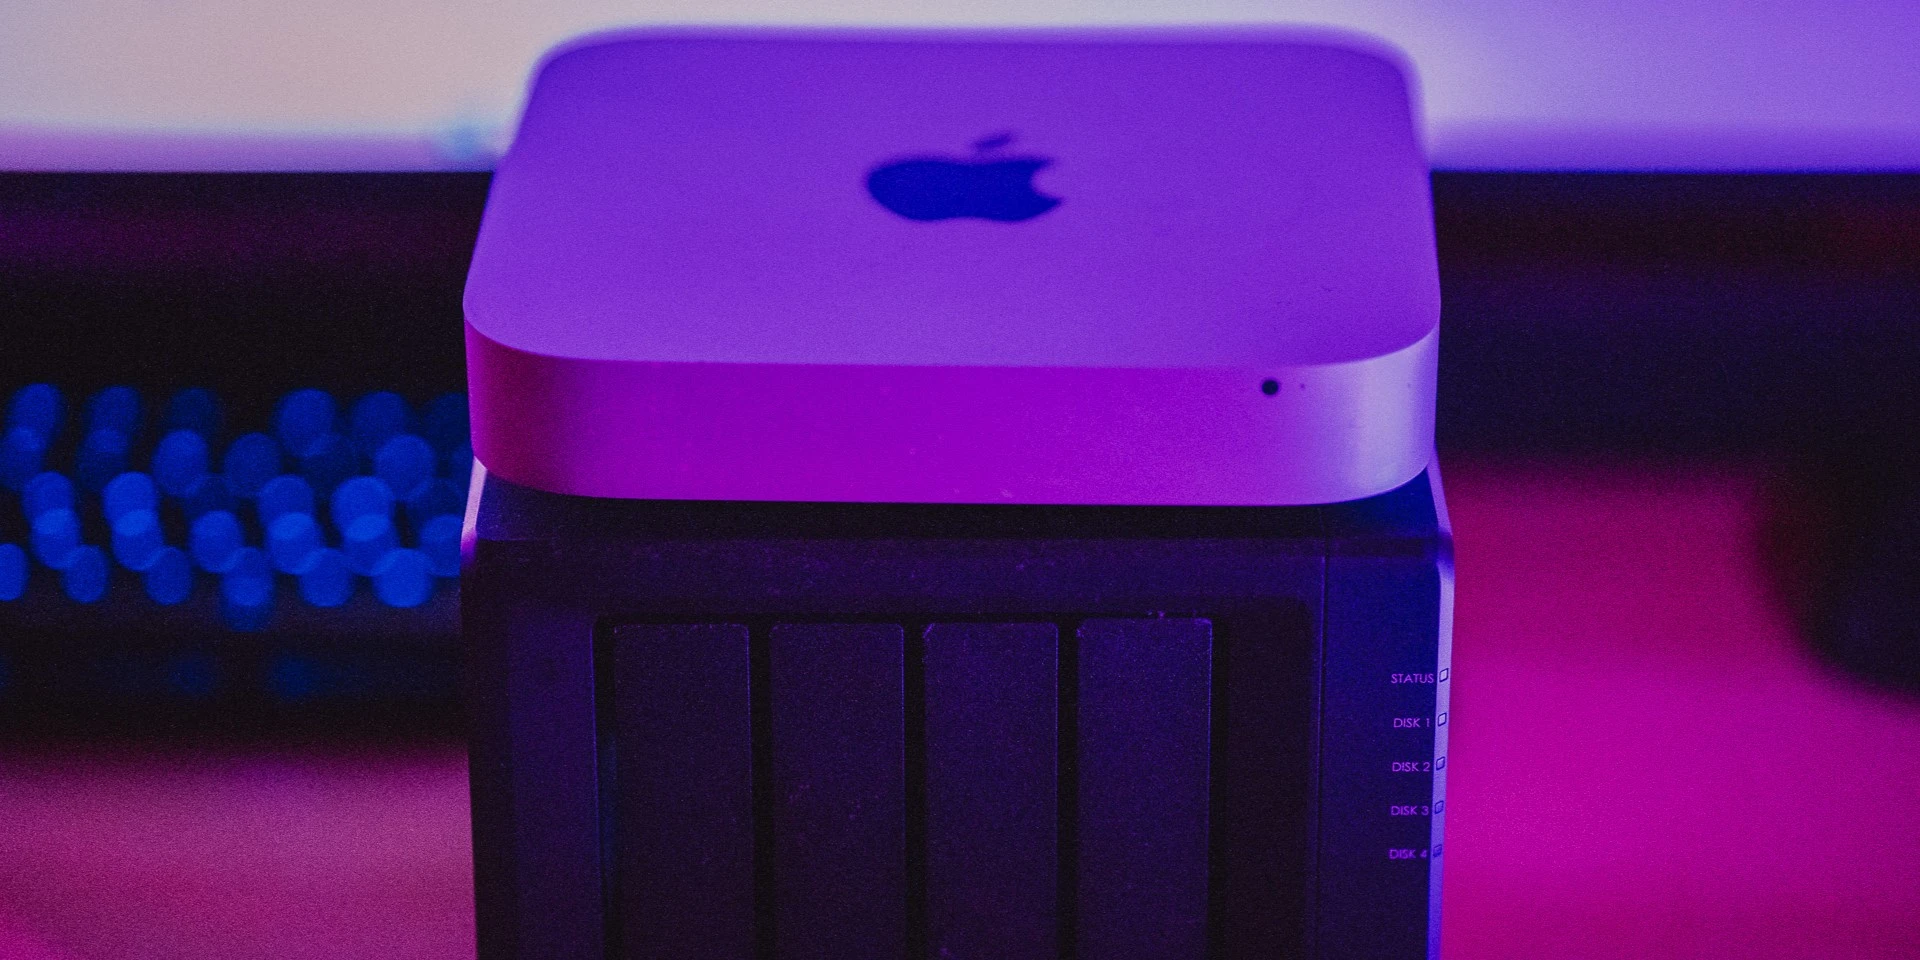
If you’re like me, you probably have an old Mac mini lying around that you no longer use. Instead of letting it gather dust, why not recycle it into a home server? That’s exactly what I did with my 2011 Mac mini, and I’m happy to share the process with you.
Hardware upgrade
First, I replaced the hard drive with an SSD. This decade-old device originally had 2GB of RAM, but I had already upgraded it to 8GB at the time. The SSD upgrade gave the machine a much-needed boost in speed and performance, making it more suitable for use as a home server. The whole thing is powered by an i5-2415M CPU from Intel Sandy Bridge architecture family. See technical specifications for more details: Mac mini (Mid 2011) - Technical Specifications
Set up
Operating system
MacOS 10.13.6 High Sierra is the most recent and up-to-date OS that my mini can run. I replaced the operating system that is no longer supported by Apple with an Ubuntu 22.04 Server. This gave me access to all the latest server-side technologies and tools, and it also allowed me to customize the system to my liking.
Reboot on power failure
My Mac mini will automatically start up after a power failure, allowing me to boot my home server without manual intervention. On my Ubuntu system, I configured the kernel to automatically reboot after a power failure by using the following command:
/usr/local/bin/boot-on-power.shsh
To my delight, the technique explains in this 2011 Blog post Mac Mini rebooting tweaks: setpci -s 0:1f.0 0xa4.b=0 worked perfectly for me and I was able to solve my problem quickly and efficiently. I would highly recommend checking out the article I mentioned. It provides a wealth of information on why I have changed theses values.
Unfortunately, this kernel tweak won’t stick around forever. Upon your next restart, the kernel will go back to its default settings and you’ll have to reapply the change. But hey, no worries! With a little bit of effort, you can make this tweak a permanent fixture in your setup.
Ubuntu 22.04 is built on Systemd, so the most straightforward and suggested method for executing a script on startup is to create a Systemd service file. This allows you to run scripts, such as bash or python, through the service when the system boots. Here’s how to run my boot boot-on-power.sh script:
Create a new service file
/etc/systemd/system/your-service-name.serviceEnter the following content into the file, replacing “your-script.sh” with the path to your script and “User” with the username under which you want to run the script:
sh
- Set correct permissions on both files
sh
- Reload the Systemd daemon to recognize the new service file with the following command
sh
containers
The resource constraints in my homelab prevent me from running multiple virtual machines using solutions like Proxmox or VMWare. In other words, my homelab setup doesn’t have the juice to handle that kind of setup.
As a home server administrator, I have always strived to keep my infrastructure as easy and simple as possible. One way I have found to do this is by using containers to run all of my services. With containers, you can simply pull down the images you need and run them on your server. This makes it much easier to set up and manage multiple services on a single host. A future article will present you the services that are installed on my server.
Final thoughts
Overall, turning my old Mac mini into a home server was a fun and rewarding project. Not only did it give my old machine a new lease on life, but it also provided me with a powerful and reliable home server that I can use for all sorts of tasks. If you have an old Mac mini that you’re not using, I highly recommend giving a second life to your old device a try as a Home!
